I was in the mood for something sweet this afternoon. We had some cocoa and icing sugar left over from another baking adventure and I remembered my mother used to make easy microwave fudge with those ingredients, so I gave it a shot.
I found this set of recipes and modified the last one since it was the most basic. Here is how I did it.
2 cups icing sugar
1/4 cup cocoa
1 tablespoon milk
1/4 cup butter
1 1/2 teaspoons vanilla
1. Combine icing sugar, cocoa, milk, and butter.
Mashing in the butter with the icing sugar, milk and cocoa.
2. Microwave on high power until butter is melted, about 2 to 3 minutes.
3. Stir until smooth. Blend in vanilla (and some nuts if you have them).
4. Spread into a buttered pan.
The chocolate mixture, ready to set
5. Refrigerate for 2 hours (or until cool) and cut into squares.
Mmmmmmmmm fudge!
6. Eat and enjoy!
It should keep in the fridge for about a week... Unless of course you eat it all before your wife gets home from vacation. :)
In case you didn't know, I love homebrewing and have been making my own beer in St. John's for about a year and half now. When I was in Halifax, I helped those other donkeys make a few batches of wine and beer and once we moved into our (rented) house here, I couldn't wait to get my own equipment and start brewing.
Up until the other day, I had been brewing exclusively with malt extract but adding my own hops. For example, here are some pics of a Pilsner brew from a few weeks ago. That recipe used Cooper's Lager (hopped malt extract), honey, Saaz and Hallertauer hops, and Wyeast Budvar Lager yeast.
Filtering the boiled hops out of a recent Pilsner brew.
I am pretty happy with the way the latest beers have turned out, but wanted to move on to the next level. That meant finding a recipe and taking the malted grains and extracting the fermentable sugars myself.
Over the Christmas break, we discovered a delicious wheat beer called Konig Ludwig Weissbier, which was part of a donkey beer tasting night in Halifax.
Beer tasting contestants. Early Jan 2011.
Like Hoegaarden or Rickard's White, it's a wheat beer but doesn't have any added spices like those Belgian styles. It tastes like bananas, cloves and vanilla and most of the flavour comes from the yeast used. It also leaves a bit of sediment in the glass, which might not be for everybody. So I think technically, it's a Hefeweiss (aka Hefeweizen), which is an unfiltered Weissbier, which is a German-style wheat beer.
Anyway, we loved it so I really wanted to make a wheat beer and hopefully chose a recipe that I could use as a basis for future brews.
I purchased my ingredients and got some really helpful advice from my local homebrew store, Brewery Lane.
I used a regular infusion mash, where you mix the grain and water together and hold it at a fixed temperature for about an hour, then sparge (rinse the sugar out). I used my cooler as a mash tun and converted it to lauter tun by adding a filter and valve, following the plans on the homebrewtalk.com wiki here.
Filter using stainless-steel braid.
Replaced drain-plug with a valve and hose.
There are other types of mashing such as two-stage infusion, or double/triple decoction but those are more complicated, and when getting started and using what are called "highly-modified" grains, single infusion is fine.
The mash went alright but I did have some issues with hitting my target temperature of 152F. When you add room temp grain to water at a ratio of 1 LB to 1 Quart, there should be an 18F drop. I had heated up my water to 170F using 2 pots but I think that made it cool down faster so when everything was mixed together, my temp was 147F. I had a homebrew, didn't panic too much and read that was fine, but that the conversion would just take longer and the beer might not have as much body (I can live with that).
Next time I would heat to 175-180F. Would be good to add a faucet on to the pot, like I did to the cooler, to keep the water flowing while I add the grain.
Adding the grain to hot water for the mash.
After an hour, when I opened the cooler, it certainly smelled like a real brewery inside. I extracted the sugary wort by slowly pouring more hot water over the top (which unfortunately cooled a lot again) and draining at the "same" rate from the other end. The spent grain wasn't sweet at all so I think the conversion worked!
Spent grain after mash.
I was targeting a final volume of 6 gallons so I collected 7 to account for boil off but after the boil I was actually only left with 5 gallons. I didn't add more water because my specific gravity was 1.050 already and I didn't want to dilute it more.
Boiling 7 gallons on the stove isn't ideal.
Chilling the hot wort in a bucket of snow.
Ready to ferment in bucket with airlock.
I learned a lot from this and can't wait for the next brew day. Really there's only so much reading you can do before you have to actually just brew it and get a better understanding of the process.
My buddy Jeff was a big help. He left a bit before the boil was done because he had to go home for supper. I failed to tell him it would take all of the afternoon and part of the evening to brew.
There are some more pictures up here. I would have taken more of the later stages but I was too tired to think and had a big clean-up ahead of me. Just like my homebrew hero Charles Papazian, I had used almost every pot, strainer and utensil in our kitchen!
The next evening, I made a short video describing the fermentation progress so far (will turn my phone sideways next time!):
I plan on leaving the brew in the bucket for 3 weeks, in order to complete the fermentation and settle a little. Then I'll prime and bottle and it should be carbonated and ready to drink 2 weeks later. Mit hefe!
This will be the first of hopefully many, burger reviews on the Iron Donkeys blog. I'm a big fan of a good burger and unfortunately it seems they are a rare breed around these parts. Oddly enough, a pretty decent burger can be found just minutes from my home at the Timberlea Beverage Room, aka the TBR.
I have had their burger a couple times in the past and they have always been enjoyable so I figured it would make a great start to my burger reviews on the blog. The menu keeps it simple with three burger options; no cheese, cheese, and cheese and bacon. This time I went for the classic cheeseburger (though I'm sure the addition of some fried pork fat couldn't hurt) which is a bargain at $6.29 with fries. I ordered it with the works (ketchup, mustard, relish, tomato, lettuce, and onions) and was offered the option of grilled onioins. I jumped on that.. SO much better than raw.
This is what showed up... pretty good looking burger visually for a little more than $6! Some obvservations right away. Hand formed patty is a must for a good burger, cooked on a griddle (my preference). Cheese could have been melted a bit more. Tomatoes look pretty sad but it is the middle of winter so not too bad.
Cut shot.. always need the cut shot. Burger was nice and juicy (you would think this would be common for a burger.. nope!). Relish and onions on the bottom. Bottom half of the bun was compressed pretty good but this is typical, didn't take away from the experiance (didn't fall apart for example). Could have used some more onions as well, but you could taste the great grilled onion flavour and they add a lot to the burger.
Overall, good taste with a good amount of juice. Not the ulimate burger but a good reliable burger at a great price. I'm not going to 'rate' the burgers in my reviews (scale of 1 to 5 for example). I think a good description is plenty to get a feel for a good burger.
PS: You might have noticed the chicken wings in the background. The TBR has great wings that are on special frequently for 40c wing (not cheap but you pay for the quality). Not greasy, great batter. Maybe I'll review wings on the blog too!
Each year for Christmas at my work, we receive the gift of a fresh turkey from my boss. We were away this year (and last) so the turkey was put in the freezer until we were ready to cook it.
Well the time came and I took it home to defrost in the fridge last Tuesday. The plan was to have people over on Saturday for a big turkey dinner with all the fixins'.
Turkey defrosting in the fridge
A former co-worker (and cook extraordinaire) was always praising the joy of brining so I decided to give it a shot. I started looking for recipes and came across this recipe and guide to brining. I determined I needed 3 gallons to fully cover the turkey so for my brine I used:
3.5 gallons water
3 cups salt
3 cups brown sugar
2 palms of peppercorns
1 large onion
1 giant carrot
1 big piece of ginger
1 jalapeno pepper
All the chopped veggies
The sugar bear keeps the brown sugar fresh!
I brought it all to a boil on the stove, simmered until the veggies were soft, then cooled and bottled it. I put it in the fridge for a couple of days until it was time to brine.
Everything simmering away
How to store 3 gallons of brine!
I used a small cooler for my brining container, which was just the right width for the turkey. I put the cooler down in the basement (around 11C) and put some ice packs inside to keep it cool and submerged.
Placing the turkey breast side down in the cooler
Turkey floating in the brine
Ice packs to keep it cool and submerged
They recommend brining for about an hour per pound up to 24-hrs max. It was an 18-lb bird so I put it in the brine after lunch on Friday, since we were planning to eat around supper time and I estimated the turkey would take 4 hrs to cook; though it actually took 3.5.
About half hour before it was to go in the oven, I took the turkey out of the cooler, rinsed it off and patted it dry with paper towels.
Rinsing the turkey
Then we followed Alton's Brown's advice, and coated it with canola oil and stuffed it with aromatics. It was roasted at 500F for half an hour and the oil certainly fried the outside. Then I tuned the heat down to 350F and cooked until the breast meat reached 161F.
Crispy on the outside. Moist on the inside
By the time the turkey was cooked, I was so hungry that I forgot to take a picture of the slices. Donkey move. Anyway, the turkey turned out very moist and tasty and I would definitely do the brine again. The juices also made for excellent gravy. I would especially like to try brining a couple of small chickens and then smoke them in my charcoal smoker. I don't think I would bother with the veggies next time though. Just salt, sugar and pepper would do fine and make for an easier clean-up.
After dinner the fun wasn't over and I was starting the next day's project. Turkey soup. I put the carcass in the slow-cooker along with some vegetable trimmings and an onion and left it alone for the night while I went off to enjoy a few homebrew.
Simmering the carcass to make turkey stock
I had to top up the water before bed because about a liter had boiled off.
The next morning, I took the pot out of the slow cooker and left it to cool down while we had breakfast.
I felt like an archeologist as I extracted the bones and meat from the pot and strained off the stock.
Ancient turkey bones
Straining out the stock and separating the meat from waste
The soup was amazing and we ended up getting enough stock for 10 servings.
It was a big bird and the fun's not over yet because we still have four big baggies of meat left over in the freezer for meals like turkey-fried rice!
Last New Year's Eve (2009), a bunch of us got together in Halifax for a potluck followed by a traditional Joel Plaskett show at the Casino. Laura had given me a special baking treat for Christmas and since there were a bunch of donkeys around, it seemed like an appropriate setting to make this:
The original donkey bread
It came from the "spice man", a local Newfoundland entrepreneur. The bag was filled with all the dry ingredients mixed together and you just needed to add a bottle of beer. I think we used a Rickard's Red with it that time, which was fine. Anyway, the thing that really made it special was the little packet of habanero spice that came in the bag, along a warning not to add the whole thing! In the interest of making sure the bread was edible but still wanting a kick, I think we added half the packet and sprinkled a bit more over the top. It was so tasty.
I was really impressed with how easy it was to make (only 5 mins to mix and an hour to bake). I found a recipe and ended making some for a snack when we watched Canada take the gold in Men's Hockey but that turned out a little dry because I baked it too long...
Anyway, I finally got around to making it again and this time I was sure to stop baking when it was done. I followed this recipe, plus to re-create the kick of the original and spruce it up I added:
A half teaspoon of Jalapeno flakes - an essential Iron Donkey spice.
Jalapeno Flakes
And about a quarter cup of shredded Jalapeno Monterrey Jack cheese, "lightly sprinkled" over the loaf for the last 5mins of baking.
Zesty jalapeno monterrey jack
It was fun and easy to make and it's something I could whip up again any time since we always have the base ingredients on-hand:
1 1/2 cups white flour
1 1/2 cups whole wheat flour
4 1/2 tsp baking powder
1/3 cup brown sugar
1/4 cup butter (melted)
12 oz. beer (homebrewed IPA this time)
The ingredients (the inspiration for the cheese came later)
I would never normally be so organized, but I couldn't pass up a photo op for the blog.
The dry guys hangin' out
Pouring in the beer was pretty fun too... it's extra foamy because the beer was warm.
Pouring the beer over the dry ingredients
Mixed it all together and drizzled with melted butter.
Drizzling over dough with butter
The recipe says to bake for an hour at 375°F but in my oven I baked it for ~45mins till the internal temperature was about 190°F, then added the cheese and browned it.
That's one fine looking loaf!
Slice and serve. A great snack for watching playoff football (or crafting).
I've been meaning to make blueberry wine for quite a while now. I have done a few grape concentrate wine kits but wanted to take it to the next level and make wine from scratch. Using blueberries as my fruit seemed like a logical choice given the abundance of them each Fall in Newfoundland.
I wanted to get a good understanding of the process so I bought The Joy Of Home Winemaking which goes into great detail about how to make fruit wines or just about any other kind of non-grape wine. I also picked up the scratch wine kit from my local homebrew store, which includes a blueberry wine recipe of their own.
Scratch wine kit ingredients
Using the recipe from the book and the store, I came up with my process, which seems to be working so far!
Fermentation activity after 3 days
Ingredients:
Blueberries - ~4 kg
Honey - 2 kg
Acid Blend - 1 tsp
Bentonite - 1.5 tsp
Campden Tablets - 3
Pectic Enzyme Powder - 1 tsp
Potassium Sorbate - 2 tsp
Grape Concentrate - 16 oz
Yeast Nutrient - 1 tsp
Yeast - Lalvin EC-1118
Water - ~10 L
This will make about 11.5 L or 3 gallons with about 8% alcohol. I wanted to make sure it tasted like the berries so I thought a 2:1 ratio of berries to honey made sense. I could have made 1 gallon of stronger wine but I wanted to be able to give people bottles so I went for quantity over strength.
Also, since I'm using honey, this is technically melomel and not wine, but I'm just going to call it wine for simplicity.
Laura and I picked an ice cream bucket of berries in the Fall and that took a couple of hours! I probably only picked a third of that so she was twice as fast as me. I knew I needed more berries but didn't want to pick them myself. Fortunately, a co-worker gave me another large bundle and I will be happy to give him some wine when it's done.
Anyway, let's get on to the making of the wine. Since we don't have much counter space or a large basin sink, I clean and sterilize all my gear in the bathtub so that's pretty sweet.
Washing equipment in bathtub
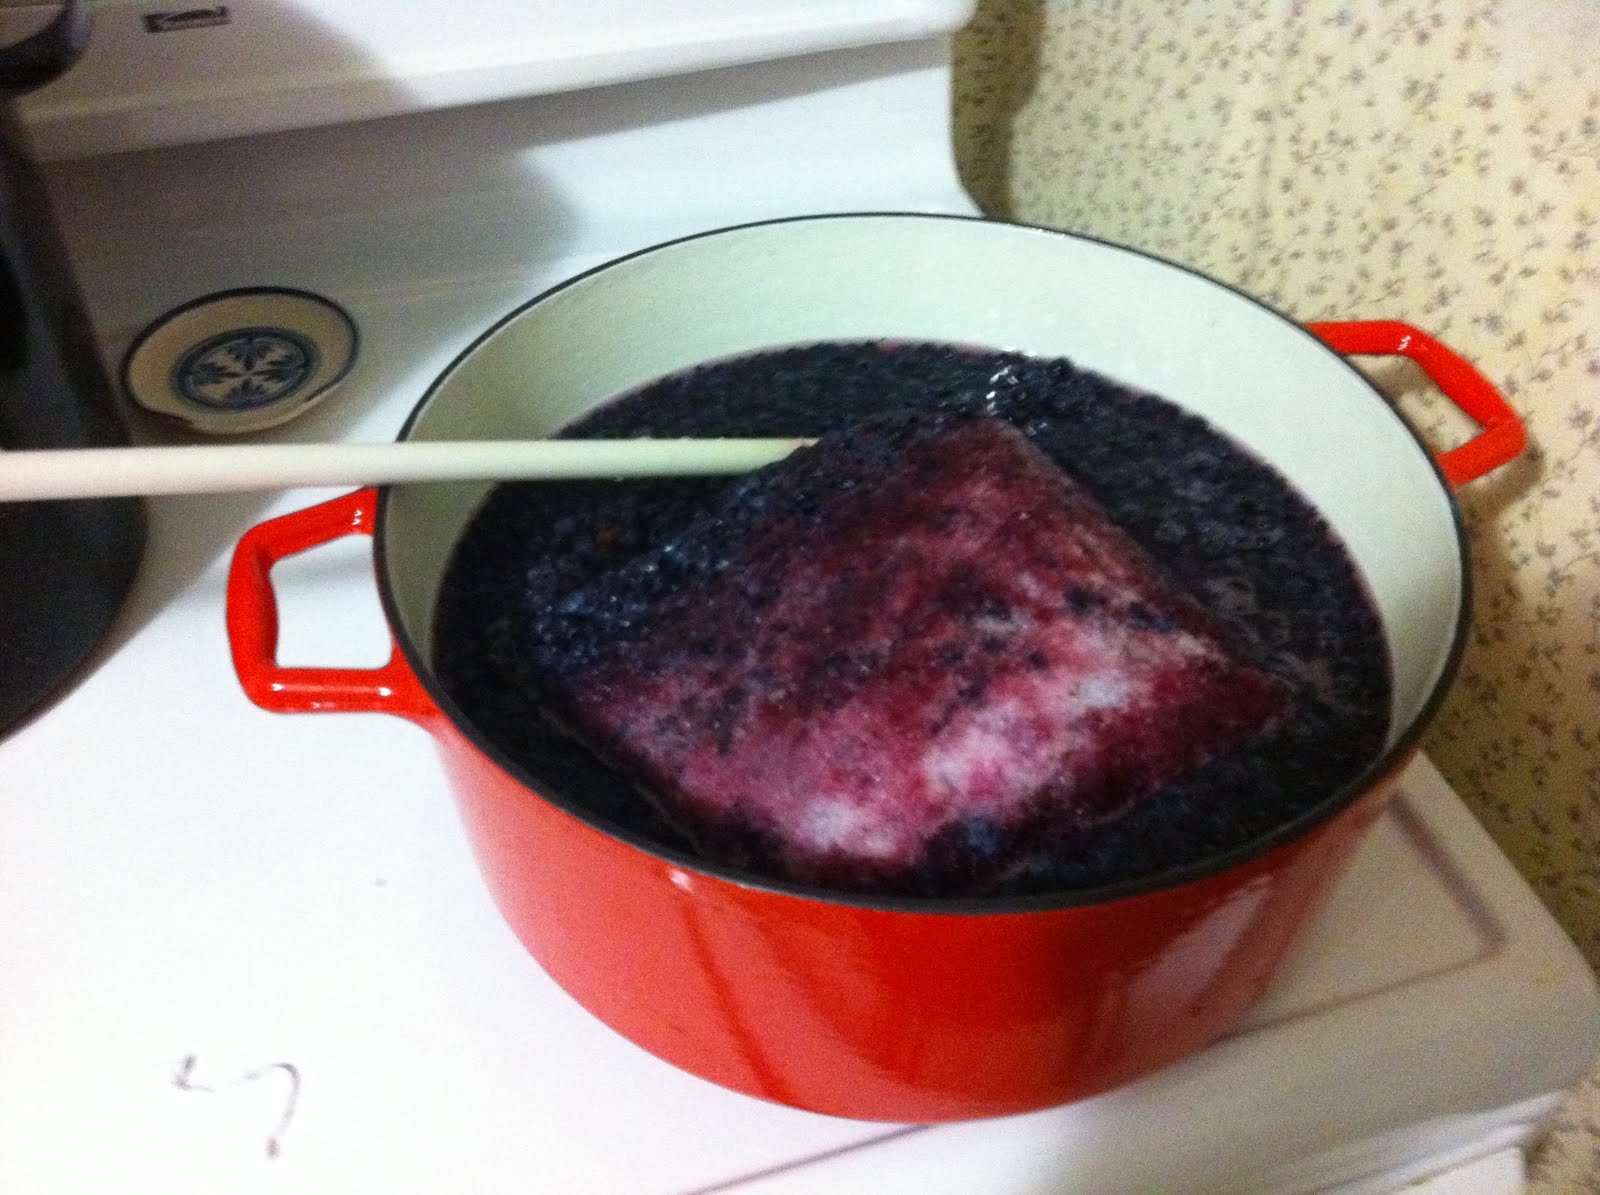
The berries were frozen and since I wasn't thinking ahead, I had to thaw them out on low on the stove and with a couple of liters of water.
Thawing frozen berries
Once the berries were thawed out, I crushed them using a potato masher. You should wear dark clothes when you do this and keep away from walls and try not to splatter. Just for future reference. Anyway, I was sure to relax, not worry and poured a homebrew, just like my favorite book suggests.
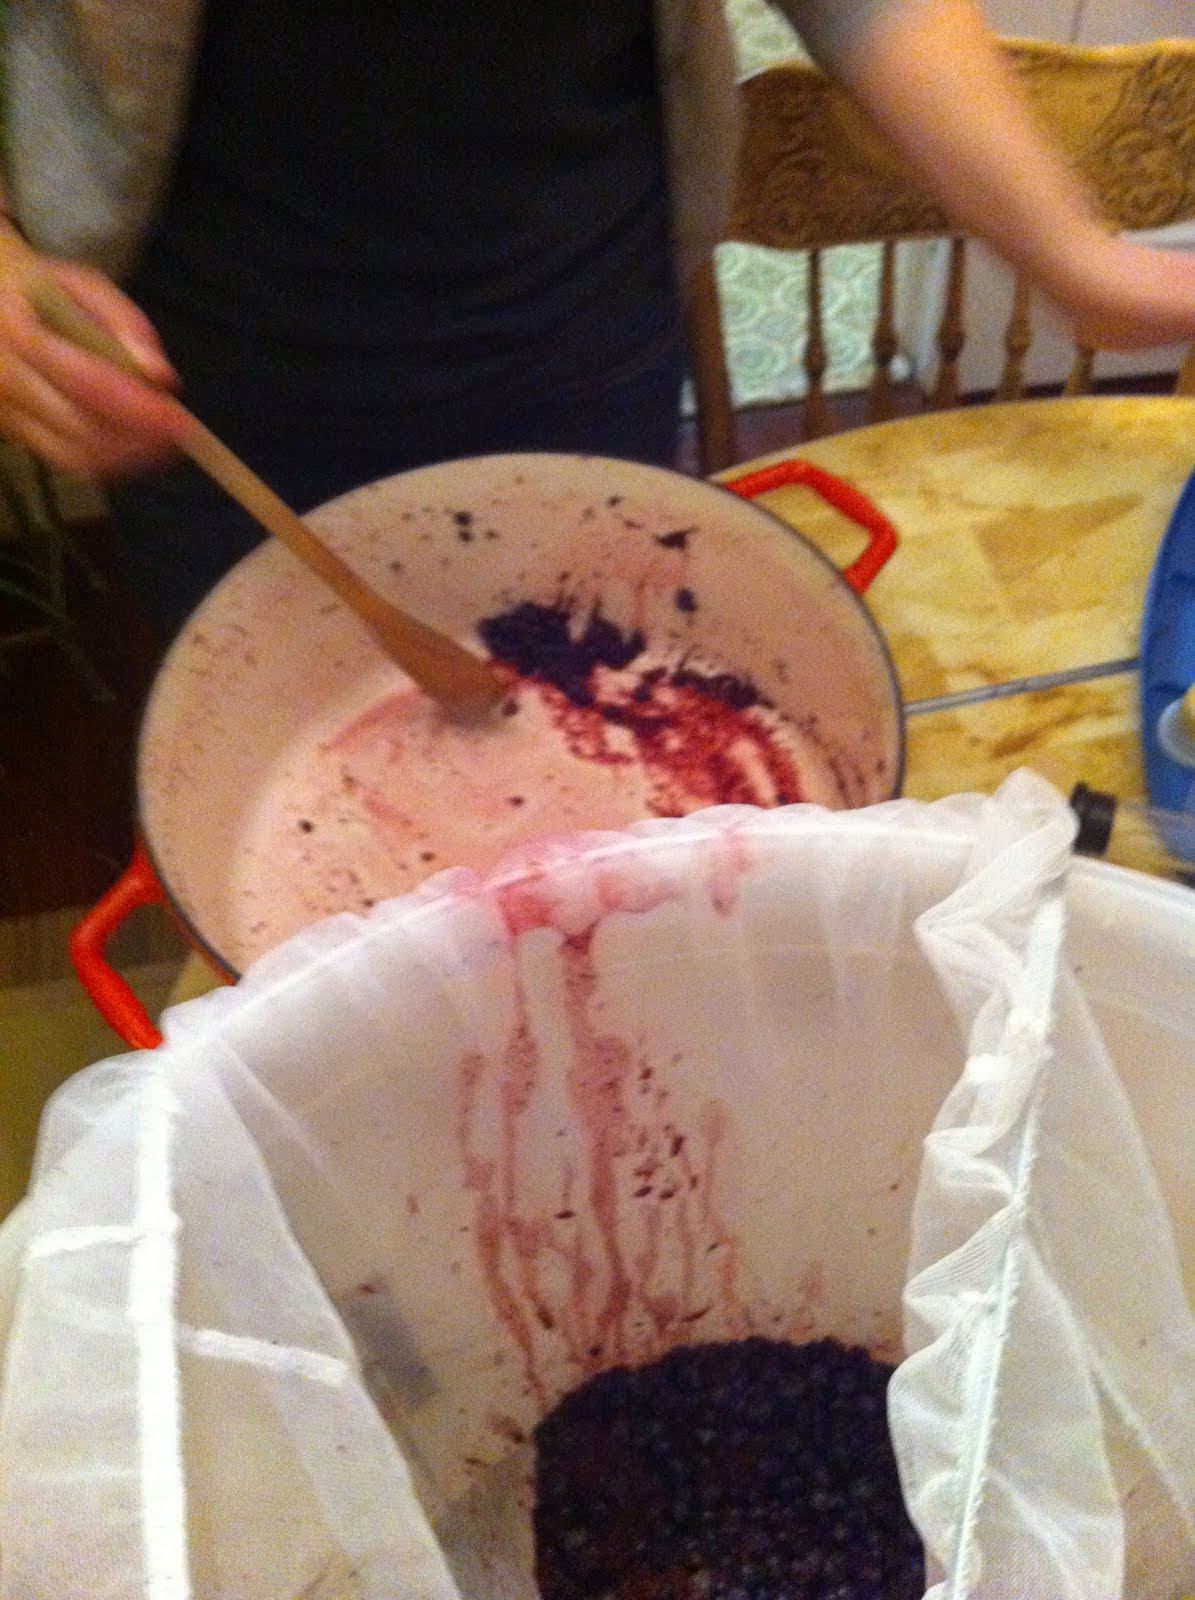
With Laura's help I transferred the crushed berries to a nylon sack in my primary fermenter (bucket). This will keep the pulp out of the final product and make the berries easy to remove when the time comes in a couple of weeks.
Transferring berries to sack in bucket
I put 6 liters of water in another pot to boil the honey. Looking back, for that amount of honey I could have used half that amount of water but now I know for next time. This just meant that I was cooling down a larger volume of water where I could have just added cold water once everything was mixed together. For reference the SG of this mix was 1.096.
Adding honey to boiling water
Once it was boiling, I skimmed off the brown foam that collected on the top.
Brown foam skimmed off of boiling honey
I boiled for about half an hour and then put the pot in some cold water to cool it down to room temperature. To cool it down as fast as possible, I made a circulating system using some tubing and my auto-siphon. I got this idea from a free Booz How Tooz iPhone video tutorial.
Cooling down honey water using cold water circulation
I dissolved the bentonite, acid blend and crushed Campden tablets into a couple of liters of warm water and poured that over the berries, along with the grape concentrate. You can see the sack floating in the bucket here too. For reference, the SG of this mix was 1.041.
Adding grape concentrate to the bucket with the berries
Then I added the cooled honey water to the bucket. This total volume was 13.5 L with an SG of 1.064 at a temperature of 26C. The volume of the sack of berries is around 2 L so that will give me the 11.5 L final volume I need.
Specific gravity reading of 1.064
Final volume of 13.5 L
I took the bucket upstairs and covered in in a garbage bag to keep the light out and catch any spills. I have a space heater in the room to maintain a temperature of 20C.
Primary fermenter in garbage bag
It took this donkey four and a half hours from the time I started cleaning my equipment until I was done cleaning up. A normal person could probably do it all in 3 but that's just how I roll.
You can't add the yeast until the fruit is broken down more and in order to break it down you use the pectic enzyme. One set of instructions said to add the enzyme 12 hrs after the Campden tables so I waited till the next morning.
24 hours after that, I added the yeast. I put the yeast in some warm water to activate it before adding.
Adding activated yeast to primary fermenter
I checked the must (mix of water, sugars and yeast) the next day and there was some activity. Not as much as beer, but I was happy to see that something was happening.
Fermentation after 1 day
You have to stir the must every day until you remove the berries. Otherwise, I guess the pulp gets rotten on the surface. I keep the spoon in there so I don't have to wash and sterilize it every day. I will take another SG reading after a week.
I'm going to leave the sack in there for a couple of weeks. Then I'll leave the must in the primary for another week and then rack over to the carboy until the the fermentation is done.